
AutoMapper is an .NET library which will be very useful to solve your complex problem and also it avoids duplication of code. Those who work on large enterprise .NET applications, most of the times you would change your domain model to view model or vice versa. But sometimes you need to do it in multiple places where duplication of code occurs.
Don’t worry, now we have AutoMapper which was developed by Jimmy Bogard. It allows us to map objects from domain model to view model or vice versa. If it’s a small project, use mapper configuration to map your models or else if it’s an enterprise application, create a profile and define your mappings in that respective file where you can use this profile throughout your solution.
Why choose AutoMapper?
There are various reasons that you can opt AutoMapper such as,
- Come on it’s 21st century, mapping code is boring
- Duplication of code can be avoided
- Reverse map of objects
- It will increase your productivity
- Check for configuration validation
- It’s not necessary that source and destination need not be the same
- Conditional Mapping
- Till now it has around 61,636,231 downloads in NuGet Package Manager.
- You can use AutoMapper on .NET Framework 4.6.1+, .NET Standard 2.0+ and .NET Core.
AutoMapper using Visual Studio 2019
We are going to see how we can map our objects using mapper configuration as well as using profiles. In this example, we will use Visual Studio 2019 to implement AutoMapper.
If you don’t have Visual Studio 2019, download using this link. Go for community edition since it’s free.
Mapper Configuration
Step 1:
After downloading Visual Studio, open it and you’ll be listed of with project templates. Please select Console App(.NET Framework) and click Next.

Step 2:
In the next step, mention the project name and also the directory and click Create.

Step 3:
Now we are going to install AutoMapper package in our project. So to do that, Right-click on our project and select Manage NuGet Packages and search for AutoMapper.
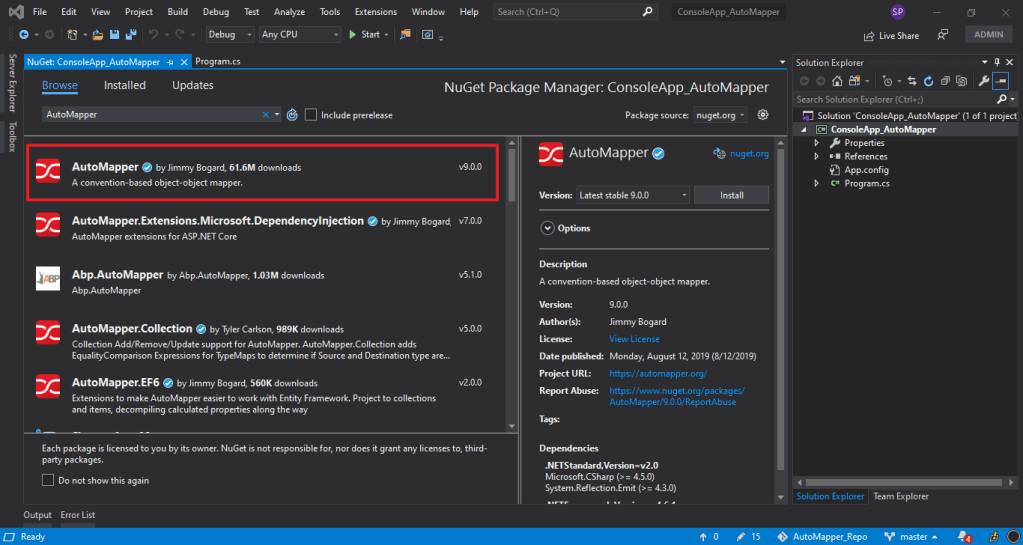
Select the respective package and click Install. And also install Newtonsoft.Json which will be useful for the project.
Step 4:
We are going to create two class called User.cs and UserData.cs. To Add new classes, Right-Click on that project and select Add New Item and choose Class.
User.cs
public class User
 {
    public string Name { get; set; }
    public int Age { get; set; }
 }
UserData.cs
public class UserData
 {
    public Guid UserId { get; set; }
    public string Name { get; set; }
    public int Age { get; set; }
 }
Step 5:
In this step, we are going to create an mapper configuration and using that configuration we will create an mapper instance.
Program.cs
//Mapper Configuration
var mapperConfig = new MapperConfiguration(
		   config =>
		   {
		     config.CreateMap<User, UserData>()
                           .ForMember(d => d.UserId,
                           op => op.MapFrom(
                           s => Guid.NewGuid()));;
		   });

//Mapper Instance
var mapper = mapperConfig.CreateMapper();
On the above example we are trying to map User model to UserData model. CreateMap<User,UserData> , first it should contain the source and then the destination.
CreateMap<Source,Destination>();And also you can see a method called ForMember which says, I won’t be sending the userId, please create an new userId whenever you are mapping from user to userData.
Step 6:
Final step, we are going to instantiate the user class and we will give some values and map it with userData class.
var user = new User()
{
    Name = "Suhas",
    Age = 23
};
var userData = new UserData();
You can map user with userData like,
mapper.Map(user, userData);

(or)

userData = mapper.Map<UserData>(user);
Console.WriteLine(JsonConvert.SerializeObject(userData));
You can map using any of these two methods and in the console you’ll get the respective output.
{"UserId":"54635adc-1eae-4b46-9cb0-5d8a9e66c6fc","Name":"Suhas","Age":23}Profiles
In an large enterprise project, you would not able to create Config multiple times in multiple projects and also it leads to duplication of code. In that scenario, you can create an AutoMapper profile where it contains all the mappings.
Step 1:
Follow the steps from 1 to 4 on the above example and then now we are going to create an AutoMapper profile. Right-Click on the project and select Add New Item and choose Class. Give a name for you profile and click Create.
AutoMapperProfile.cs
public class AutoMapperProfile : Profile
 {
     public AutoMapperProfile()
      {
	  CreateMap<User, UserData>()
		   .ForMember(d => d.UserId,
			      op => op.MapFrom(
			      s => Guid.NewGuid()));

         // You can have all the mappings here
       }
  }
The respective class created should inherit the AutoMapper Profile class. A Profile can contain multiple mappings.
Step 2:
Add this profile into your main cs file and you can start off with mapping objects.
mapperConfig = new MapperConfiguration(config =>
 {
    config.AddProfile<AutoMapperProfile>();
 });

 mapper = mapperConfig.CreateMapper();

 mapper.Map(user, userData);
Source Code Link => https://github.com/SuhasParameshwara/AutoMapper_Demo
Conclusion
The real impact of Auto Mapper will be clearly seen when you use this in an enterprise object. And also it will save us lot of time. It also does some additional cool things such as,
- Conditional Mapping
- Null Substitution
- The objects need not be the same etc.
Hope it will be very useful for you guys. For detailed documentation, visit this link.
In our next blog, we will explore about Dependency Injection.
Happy Coding!
Cheers! 🙂

Thank you for a clear and detailed explanation!
LikeLiked by 1 person
Automapper is a great tool for simplifying object mapping in complex applications.
LikeLike